Finally, it’s time for the fun finishing touches—adding all the embellishments and the glassine envelope to bring your layout to life!
To add some interest to the Glassine envelope, run it through a embossing folder to create a soft pattern.
Try lightly sanding the raised areas after embossing to enhance the effect even more. You can also ink over the embossed design for added depth—Distress Ink or Archival Ink work great for this! The ink will settle into the exposed fibers where the coating has been broken, creating a gorgeous blend of texture and color. Experiment with different embossing folder patterns to see how the kraft glassine reacts—it’s such a fun and easy way to add an extra layer of interest to your creations!
Watch the video for the glassine tutorial.
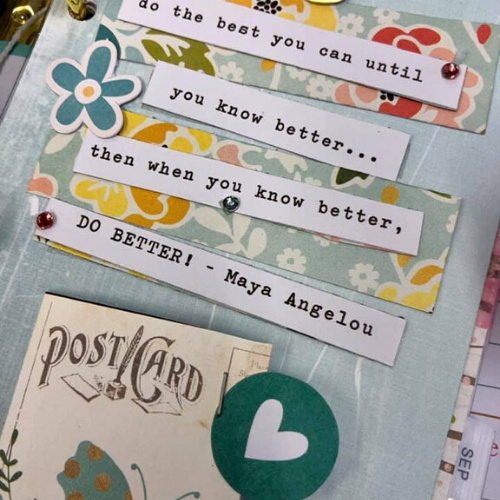
You can add a tag or journalling into the envelope. Once the envelope is in place, we’ll move on to adding the embellishments such as die-cuts, ribbon, enamel dots, and other decorative pieces. You can play around with placement before adhering them down.